
Planning the Artwork
Through the images that follow I will walk you through the simple process of turning a flaw into a beautiful creative work of art.
The first step in the process is to determine based on the shape of the flaw, what could be used. As a possible example; a long crack would be a good shape for a steam of water, a vine, a snake, a lizard or gecko. A knot hole could become a turtle, lady bug, spider, or could become part of the lizard shapes depending on the size of the hole.
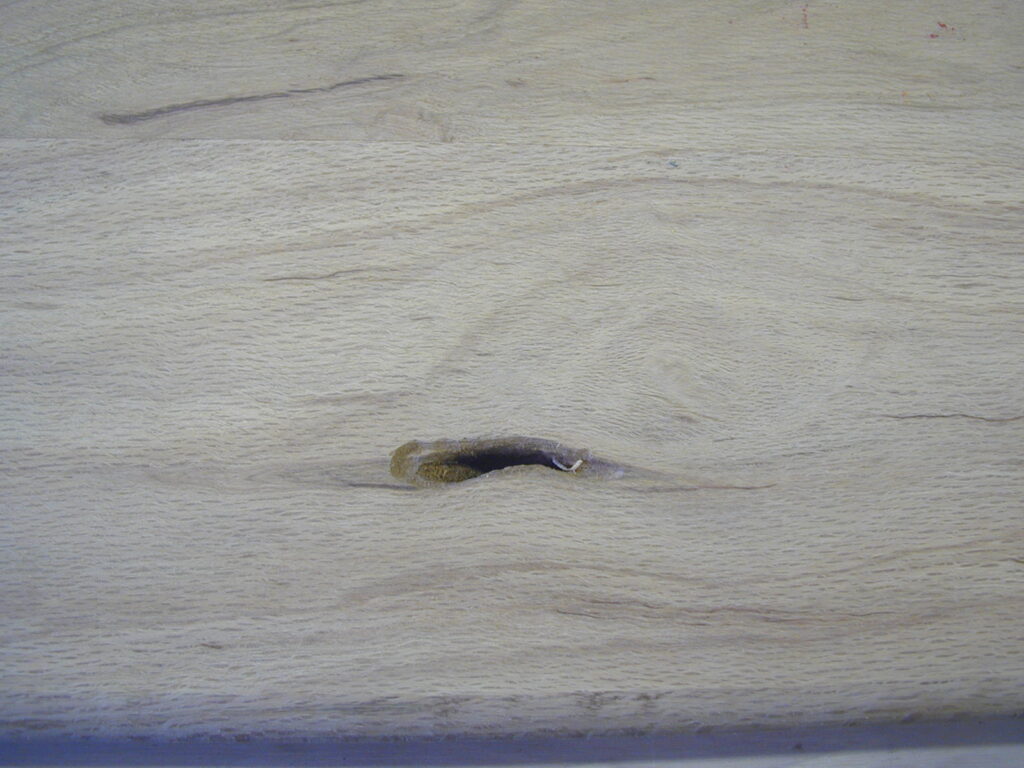
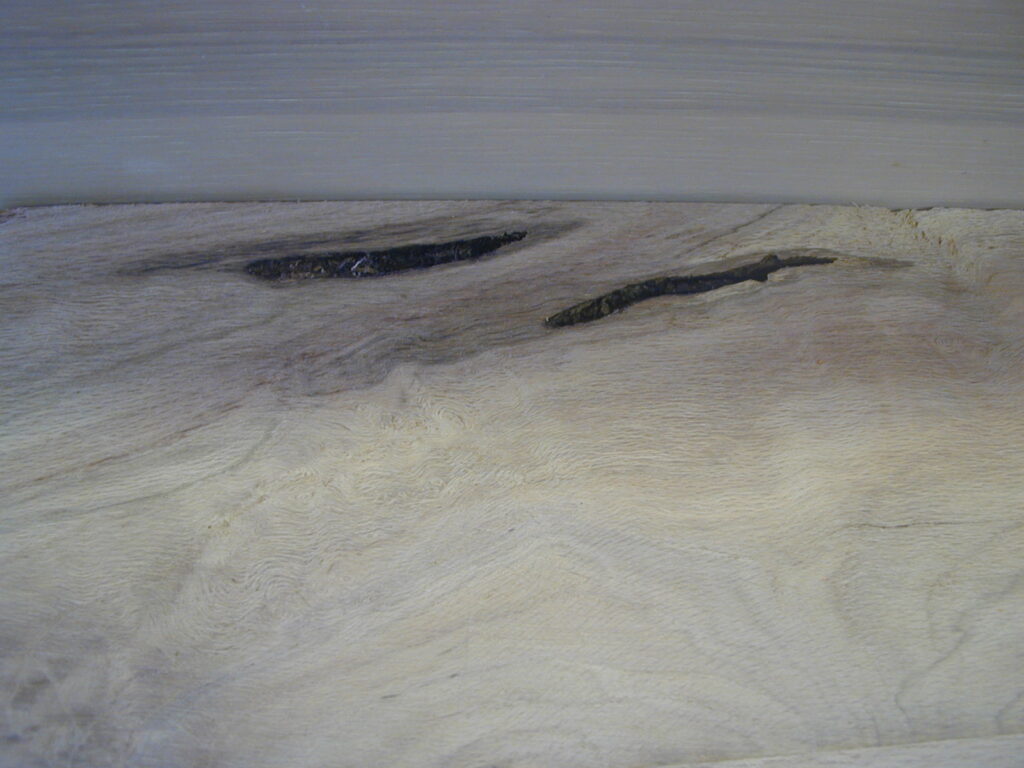
Step two is creating artwork that fits the flaw. This for many will be the part that stops them. The “I’m not an artist” rears its head. For this project you don’t need to be a Rembrant. You will need a #2 pencil, tracing paper and wax paper. Your local library has tons of reference material you could trace and use. The internet for many is easier than the library. Pick your subject; geckos, reptiles, flowers, etc. Try ‘flower photos’, ‘flower illustrations’, ‘flower drawings’, etc. You will find hundreds of possibles sites. Pick one. When you find an image that will work use Print Screen and Print In Color if you want a reference or Greyscale to conserve ink.
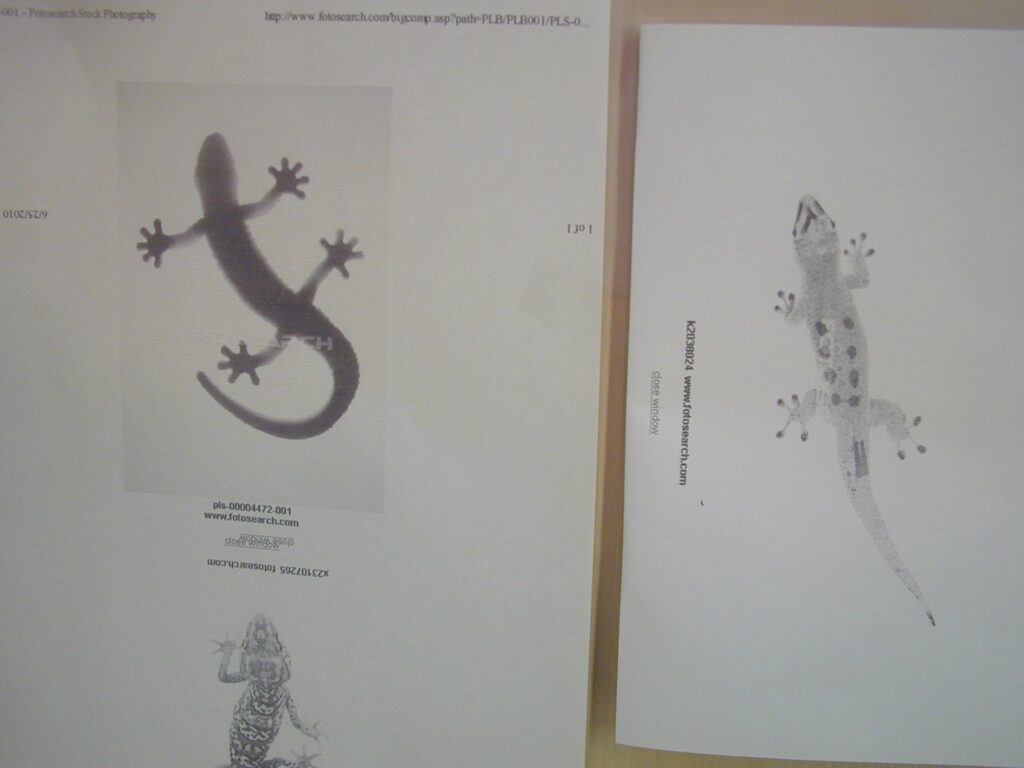
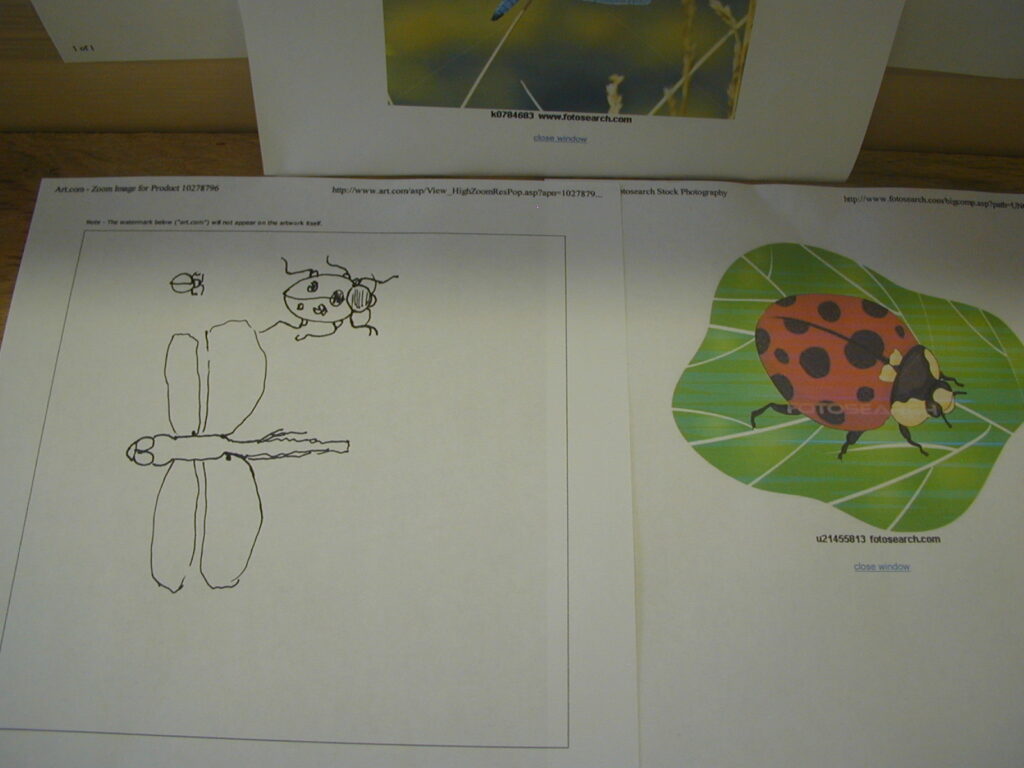
Once you have several images facing in many directions you can enlarge or reduce the images with a copier for variety of sizes. Take a sheet of tracing paper, lay it on the top of your image and trace away. A paper clip or tape will hold the images in alignment. When you have finished tracing, flip the drawing over and paper clip it to a piece of wax paper about the same size as the tracing paper. Retrace the images so you now have a #2 pencil on both sides. You have in essence made both sides of the tracing paper like carbon paper. When you lay the image on the wood to trace over the void you will be able to use either side.
I have found the blue painter’s tape helpful for holding the tracing paper in place while leaving no residue on the wood. Line up your tracing with the void and hold or tape it in place. Trace the image, being sure to check that a fine pencil mark is being transferred to the wood. When complete, check your image and fill in any lines that may be too light.
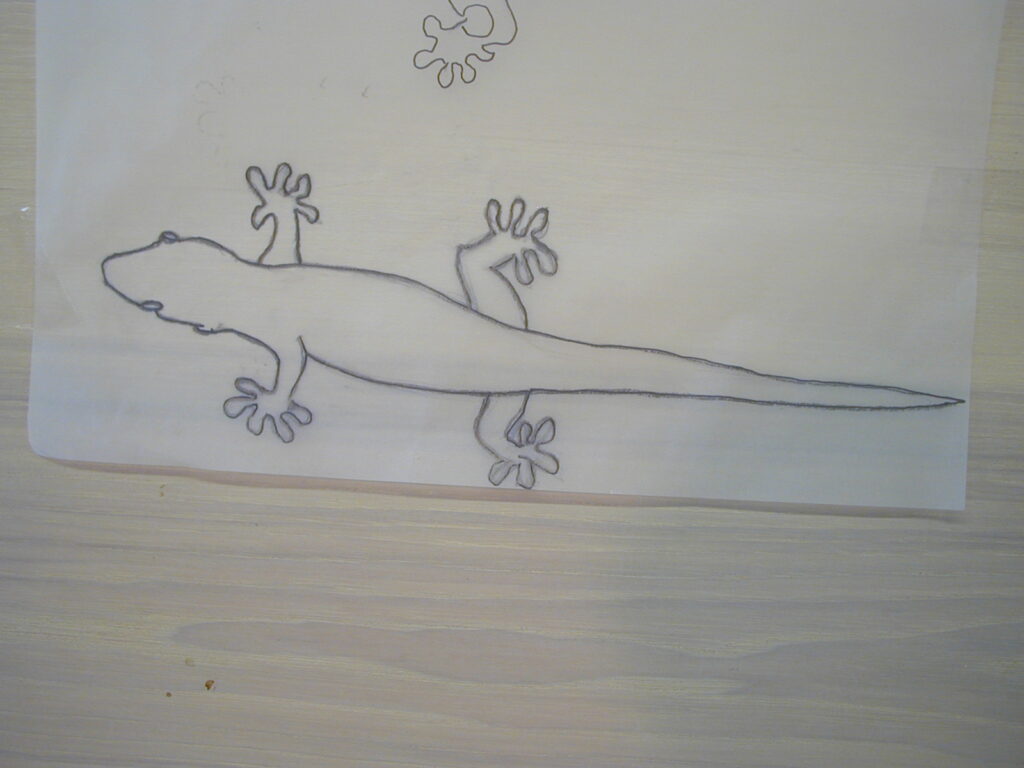
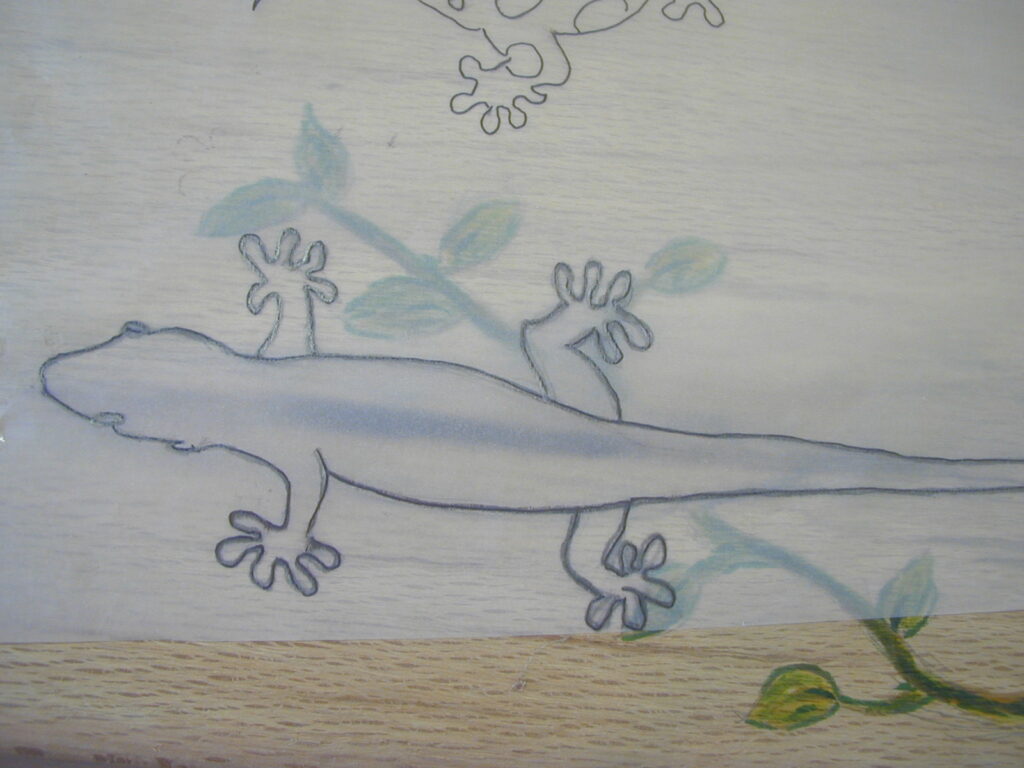
If you’re happy with your drawing, get your powered carving tool and start removing the wood inside the image you drew. In most cases, 1/8 inch in depth is sufficient. Try to undercut the edges to create a shallow lip for added stability and strength. The bottom of the image does not need to be completely smooth. In this case, the unevenness in depth will add gripping power. Once you are pleased with the shape, get ready to mix the 2-part epoxy.
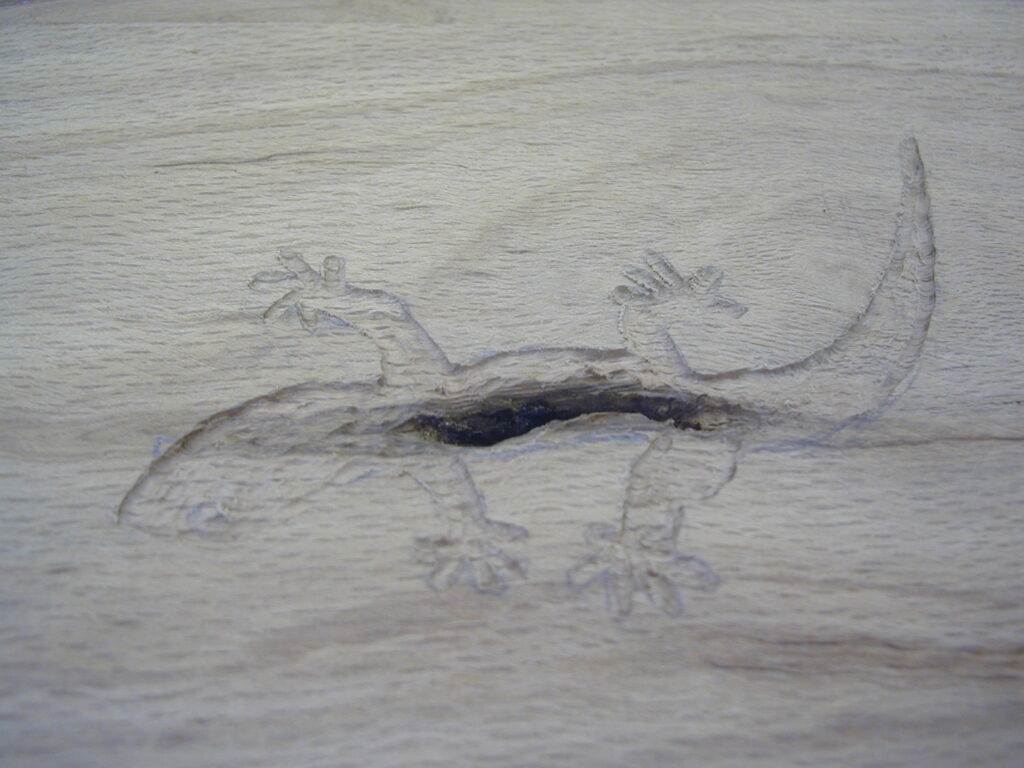
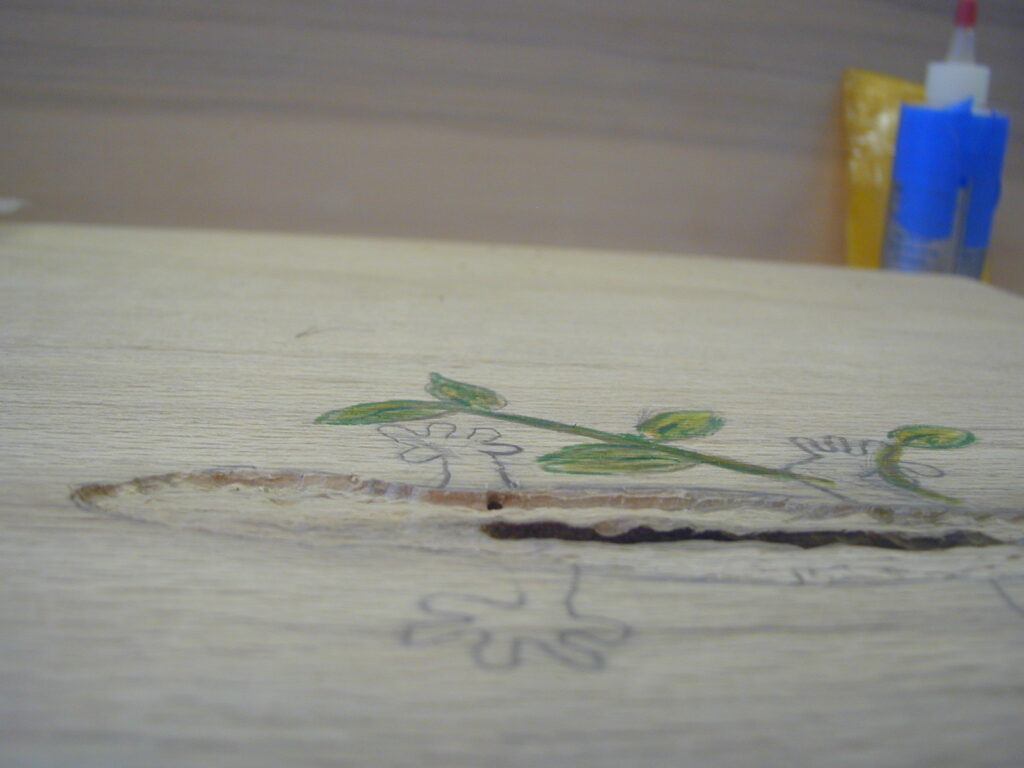
Easy Tools to Make for working with Epoxy and CA Glue
1) Epoxy Spatula: Take an old credit card or hotel key card and cut it into widths a little wider than the area to be filled. Put a slit in a handle, slide the card into the slit and apply CA glue to make it permanent.
2) Dust Packing Tool: A nail with the head facing out and placed in a handle works very well for packing the dust in the design for working with CA glue.
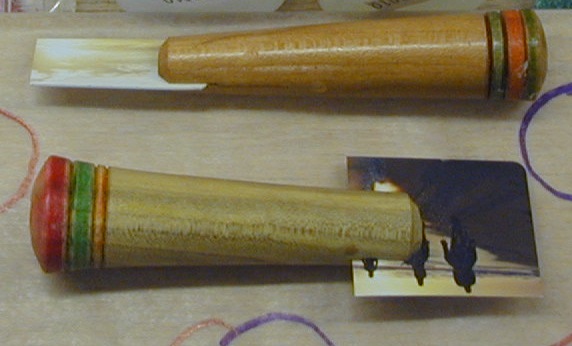

Using Woodworkers Palette & 2-Part Epoxy
Take a piece of wax paper or plastic bag and wrap it around a 1″ x 4″ x 12” board. A rubber band on each end of the board will hold it in place.
If you have not worked with epoxy try the 30-minute set time just to get used to mixing and working with Woodworker’s Palette.
Draw a circle on the waxed paper or plastic bag about 1/3 the size of the image area to be filled. A Sharpie works nicely for drawing on wax paper or plastic bags. Fill the circle with one of the epoxy parts (resin or hardener, it doesn’t matter which part but only use one) then add enough dust to make a mixture the consistency of honey – thick enough to flow but not runny. Stir and mix as you add the dust a little at a time.
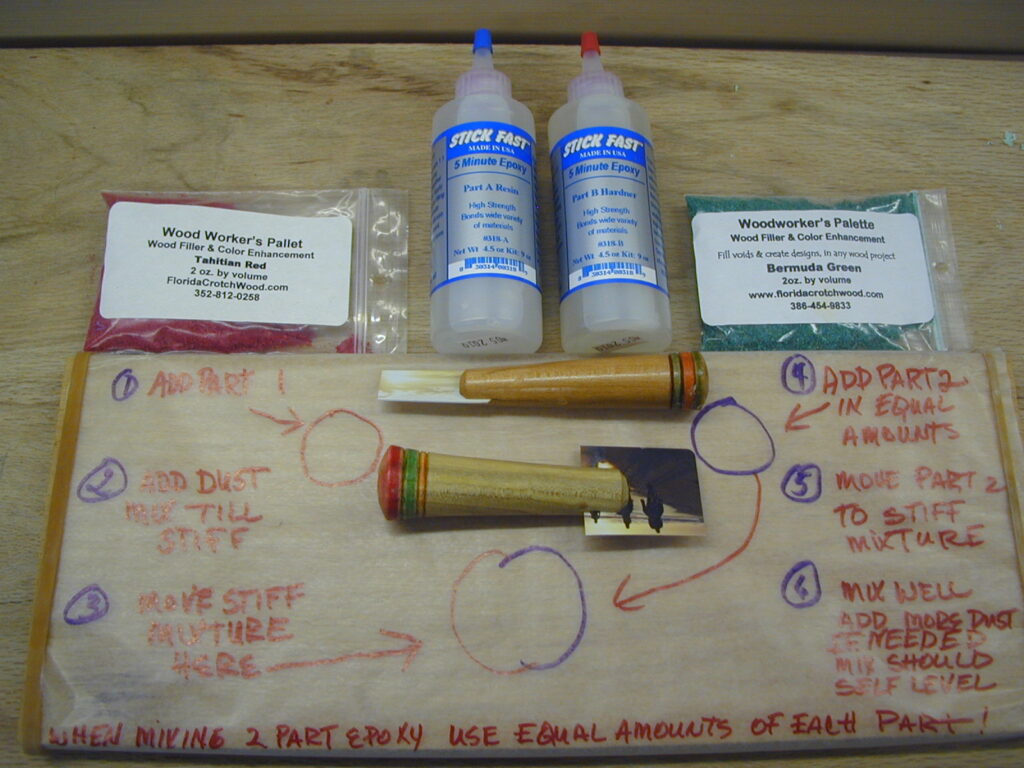
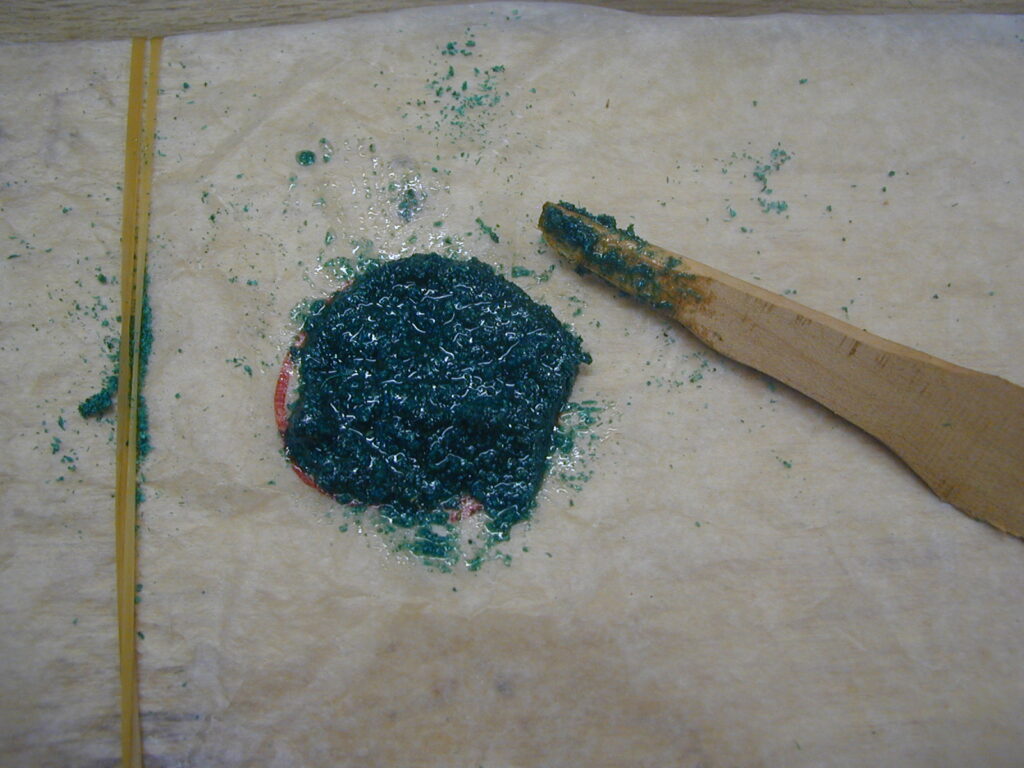
Slide the mix out of the circle after it is thoroughly mixed and add the second part of the epoxy to the circle, mixing it with the first part. When both parts are thoroughly mixed, take the spatula tool I’ve shown you how to make or use yellow auto body filler cards and gently lay the Woodworker’s Palette into the voids. Let the mixture self level. Allowing the mixture to self level helps eliminate air bubbles which would be created by forcing the mixture into the void. Try to leave the material a little above the surrounding area so it can be sanded or planed smooth.
If you want to add spots or stripes in additional colors, simply take the power carver and create voids in the well-set epoxy and then add the additional colors as before.
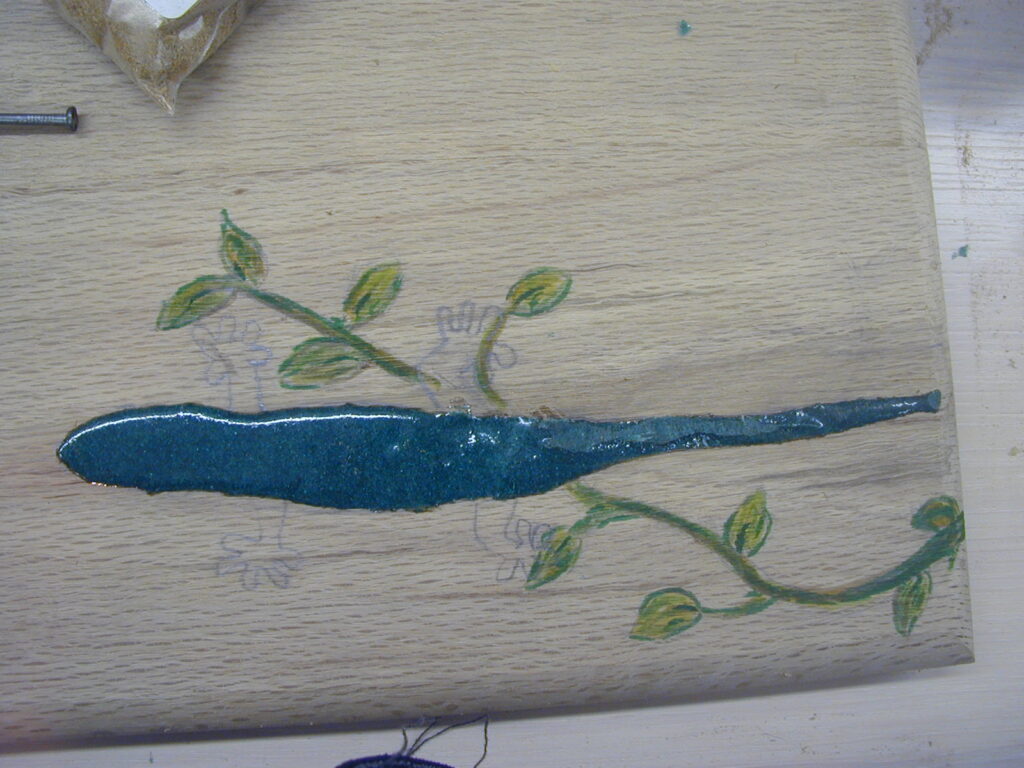
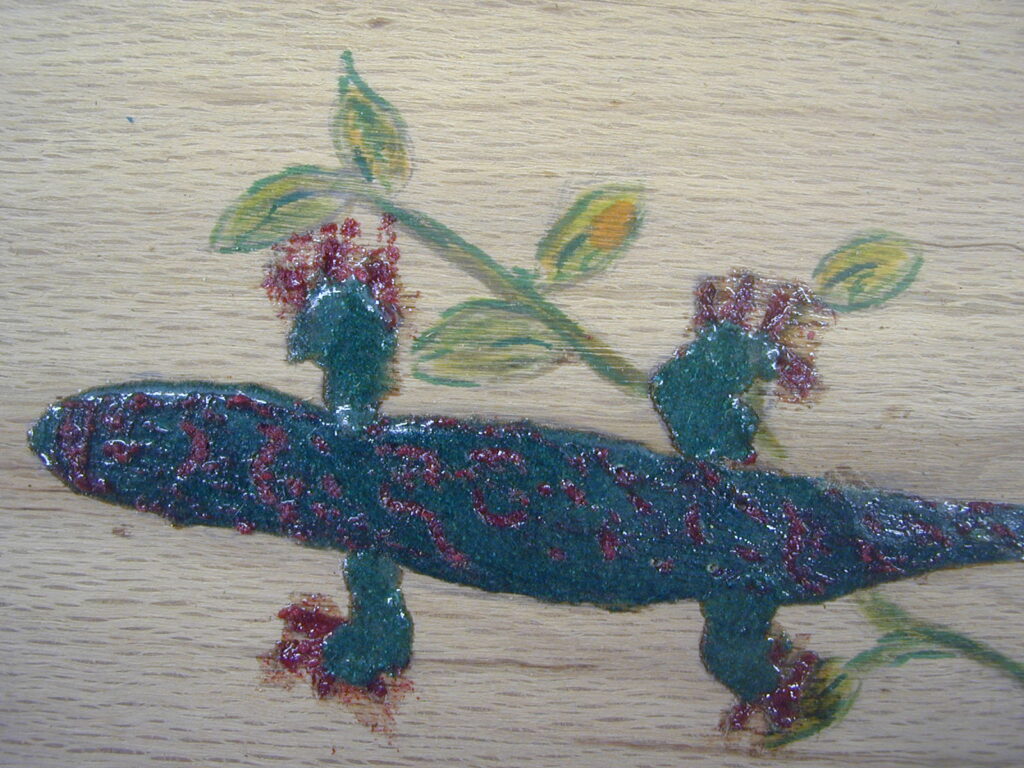
*Note About Set Time ~ I like to wait 12-24 hours before I sand or cut in the new colors. “Set Time” means it will harden in 5 hours, however I feel it needs cure time as well. Experiment on a practice piece for exact workability times since these may vary depending on humidity and temperature.
If you are working on a turned piece that has not been turned to final cut you will find the epoxy cuts very much like wood using a good sharp tool. Go ahead and power sand on the lathe as usual, going through your normal range of grits. Finish as usual.
If working with the epoxy on unfinished flat stock, the piece can be sent through the planer or drum sander taking very light cuts. Hand sanding will of course work equally well, it just takes a little longer. CA glue does not go through the planer well. CA glue is appropriate for small cracks and voids, but may be too brittle for large voids and images. Keep this in mind when planning the artwork.
Using Woodworkers Palette & CA Glue
CA Glue may be used instead of 2-part epoxy. There are a few differences in application:
Prepare the crack by undercutting the edges to form a shallow lip for added stability and strength. The depth of the crack or void should be at least 1/8″ deep.
Take a Q-Tip or a piece of paper towel, dip it in a clear lacquer and outline the crack – the lacquer will prevent the CA from migrating and creating a glue line that stains the wood.
After the lacquer dries, fill the cracked area with Woodworker’s Palette. Using the Dust Packing Tool, pack the Woodworker’s Palette into the crevaces so the material is a little below the edges of the surface.
Using the thin CA glue apply 4 to 6 drops at a time. If you apply more than that at one time, the glue will get hot and fizz up creating a hard white substance that’s a pain to sand. Take your time and let the thin CA soak all the way through. When you have covered the whole area and it’s smooth with no fizz, add medium or thick CA glue to the center of the crack and let it self level so that it will fill any remaining voids. Because you filled the void and left it below the outer edge when the thick CA dries you will have very little to sand and most of that will be pure CA. Finish and sand as usual, going through all the grits.
Contact Info: (386) 454-9833 phone • (239) 822-6762 cell
or use our Contact Form
